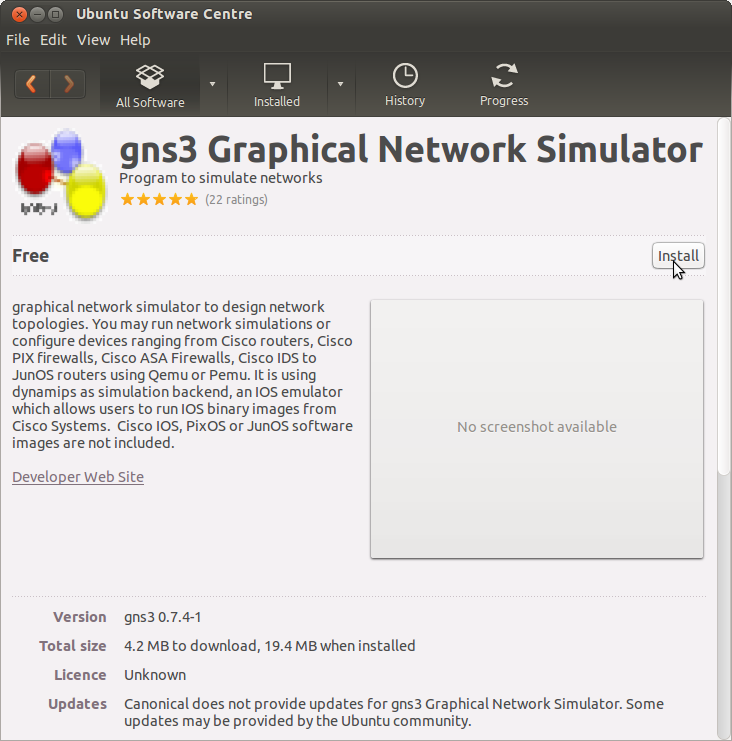
I followed the GNS3 instructions for installation and simple topology. GNS3 can be installed from the Ubuntu Software Centre (below) or from the command line with:
sudo apt-get install gns3
After installation GNS3 was available from the Education sub-menu. On first run the Setup Wizard appears.
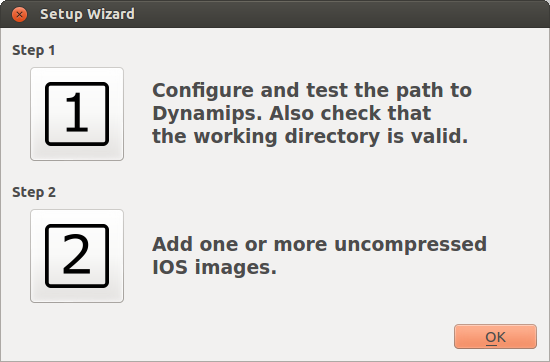
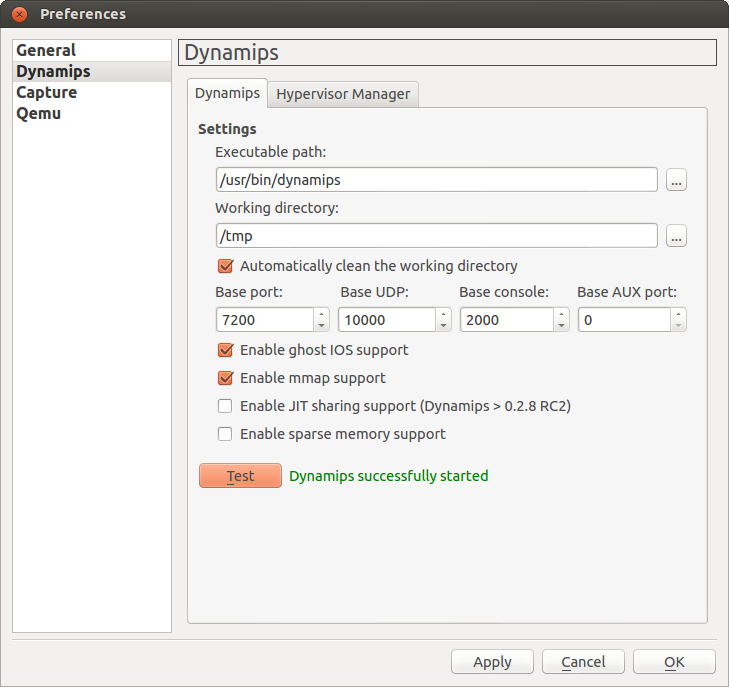
I clicked the big ‘1’ button to and from the Preferences dialog chose Dynamips and clicked the ‘Test’ button then clicked OK.
I needed to download some Cisco iOS images to use with GNS3 and found some here:
ftp://ftp.unikon-ua.net/pub/Cisco/IOS/
http://www.4shared.com/dir/5716575/72cbe353/IOS.html#dir=wbJt2FV9
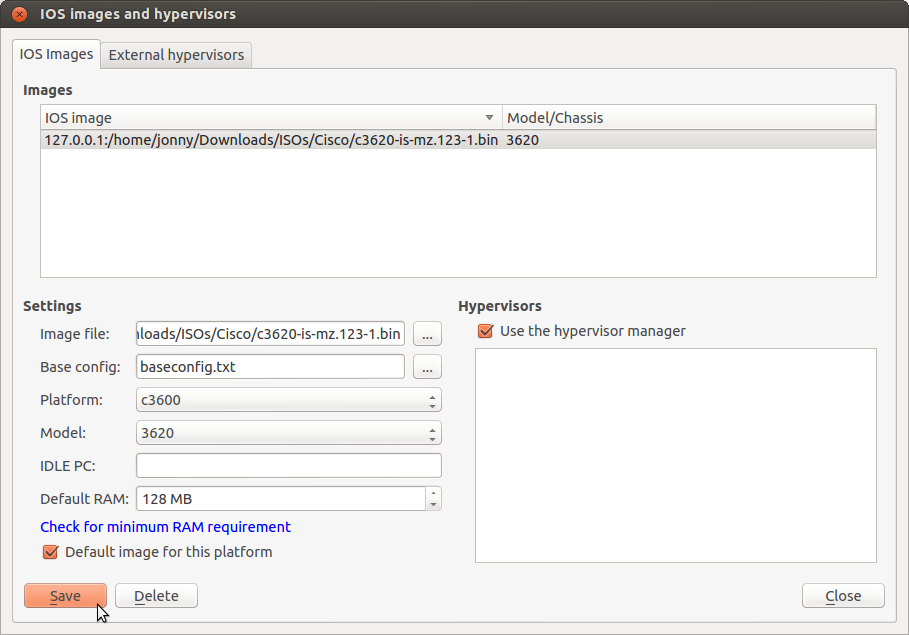
I then clicked the big ‘2’ button and from the ‘Image File’ field I chose the .bin file downloaded from above.
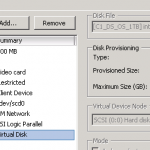
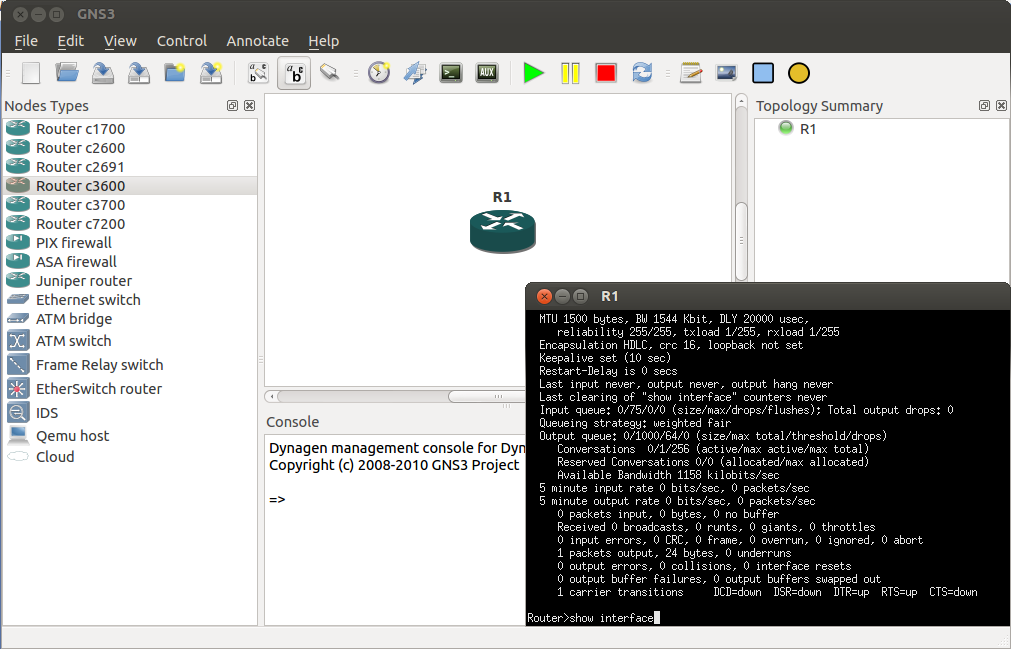
Next in the main GNS3 window I dragged a ‘Router c3600’ from the ‘Node Types’ panel onto the central canvas. Right-clicking the new ‘R1’ router allows setting:
- Configure -> Slots (to add a FastEthernet adapter and a Serial Adapter)
- Hostname
- Idle PC (for performance)
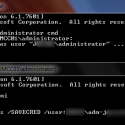
- Console (to connect to the router see below)
 Now I need to find some time for the Advanced Topology.