The quick way to add Galleries to WordPress is illustrated below:
- First create a new Page (with the Gallery page as a parent if necessary)
- Click the Upload/Insert icon above the WYSIWYG editor
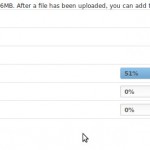
- Click the ‘Select Files’ button and locate the images on your computer
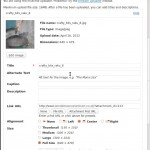
- Once the images have uploaded you may click the ‘Show’ link beside each one to add some ‘Alt’ text
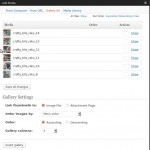
- Click the ‘Save all Changes’ button
- You should now notice that you are under a ‘Gallery’ tab with options for a gallery – choose ‘Link thumnails to’ > ‘Image File’
- Click the ‘Insert Gallery’ button
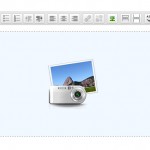
- You should see a placeholder in your WYSIWYG editor for the gallery
- Publish or Preview the page
These galleries are best viewed with the jQuery Colorbox plugin installed and activated to provide lightbox functionality for your gallery.
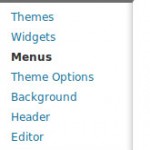
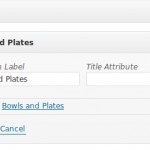
The remaining images above show amending the top menu to add a page to the menu structure then removing a page from the menu structure.
